I'm not that creative with it, but I do think it's fun and you can make some handy stuff. I took Syd's good idea and made some gift tags for Christmas gifts, and a couple of tags with my name on them to put on my stuff--I am always leaving my stuff places!
The "real" metal stampers will tell you that you need a steel anvil, and that's awesome if you've got one on hand, but just between us, we've always done all of our metal stamping on top of a flat brick. I'll show you later how it makes the tag look a little janky on the back, but honestly, it's fine.
Here's what you actually need!
- metal stamps. These 1/4" stamps are easier to wield--

- something to stamp. We played a little with stamping on coins, and it works, but I bought this pack of dog tags--

--and that's what we mostly use. I like that there are tons of tags in the set, so that when there's a group who's all stamping with us, I can encourage them to do a couple of practice tags first. I HATE feeling the pressure to do something right the first time just so I don't "waste" supplies!
I haven't tried stamping on flattened soda cans yet, but it's on my to-do list!
- something to stamp on. This steel anvil is the best surface to use, but we get fine results by using a regular old brick.
- masking tape.
- hammer.
- fine-point Sharpies (optional).

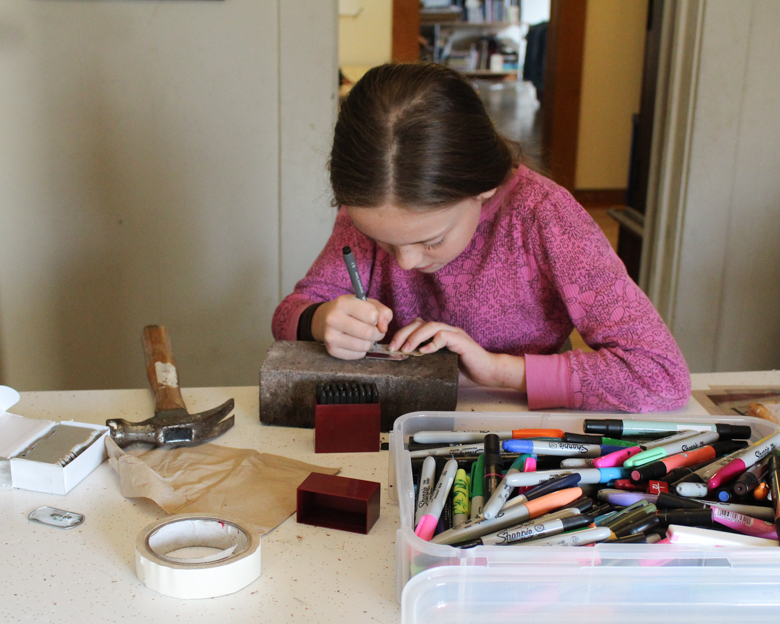
1. Set up your dog tag on the brick, with masking tape to hold it down. The masking tape also makes a good guide line, although don't try to line your stamp up against it, or you'll end up stamping over the top of the tape and your stamped image won't be as crisp.
2. Starting at the center of your word, hold the stamp level against the dog tag and give it one hard whack with your hammer:

If you're using dog tags and a brick, it won't hurt your stamp to whack it more than once to make the image, but it's likely going to blur your image to do that. So just harden your soul, screw your courage to the sticking place, and WHACK that stamp!
Here's what the back of the tag will look like:

That raised pebbling is what I meant by the back of the tag looking kind of janky--it would be nice and smooth if you used a steel anvil, but YOU try throwing your dog a birthday party and having dog tag making the party craft, and YOU buy a steel anvil for every party guest to use at the same time!
That's right, a brick works just fine, doesn't it?
3 (optional). Use a fine-point Sharpie to carefully trace the lines of your stamping:
It gives the stamped image a nice contrast to the plain metal tag.
I left these stamping supplies out on our playroom table all week after the dog's party, and this morning I came by and noticed all the tags that the kids have stamped off and on all week. Here are a few of them:
 |
| I made this one as a reusable gift tag. |
 |
| Syd made this one. I have no idea what her plans are for it. |
 |
| I encouraged the kids to make these as future SWAPS. |


 |
| Will made a dog tag for the dog! |
Or you could do what I do, and make another gift tag for someone every time you pass. Next time I go in there (to sort LEGOs, which is my other endless project currently running), I need to make a tag for Syd's ballet teacher that will go with her Starbucks gift card, Syd-made card, and letter from me explaining in detail that she is the best ballet teacher my kid has EVER had.
Thanks for being so awesome, Victoria!
No comments:
Post a Comment